recent posts...

Tuesday, October 25, 2011

Halloween Plaque

From time to time I have people that like to give me things because they know what I do. They know how I am. They know I am a little crazy at times in the way I look at things.


If you have been on my blog before you know I like thinking outside the box. Spending a lot of time at linky parties, I tend to get a whim to do something I don't see. One way to do this is get an object and look at it differently. You can see what I mean when you look at some of my top ten posts. Or my red bird project.


My mom found this plaque/candle holder at a thrift store and thought I could do something with it. My first idea was to make a sign with it.


In 1977 someone made this and painted these little Indian girls on it. Well kinda fall looking.......but Not my taste ! 


I decided to paint it with Annie Sloan's Graphite. After I painted it I came up with my idea to make this for Halloween.


Notice the shape......


I painted two dresser knobs that I had and glued a piece of pine cone in between to come up with this....


BEFORE
AFTER


He is sitting on the wall next to the door to greet people as they come in. I love how easy this project was. I see birds a lot hmmmmm.
It just took a little thought! Love projects like that!

The little candle holder shelf can hold anything. It looks cute with a candle too! But why not do something different!

What different ideas have you come up with today?

I would love to see them!


Thank you to West Furniture Revival for featuring my ticket sign and theatre sign!!


Monday, October 24, 2011

Shabby Chic picture Frames

I had a wonderful weekend enjoying the beauty of fall. The trees are turning and winter will soon peek its little head out. Christmas is in the stores before we can even "Give Thanks" at Thanksgiving! To me there is one little thing that says fall all over it.

Pinecones! They dress up mantles and get filled in vases. Some even get painted.

Mine got cut! Many many pieces of pine cones.

I recently purchased some antique frames that I painted and distressed. I added some pine cone flowers to decorate the corner. I think these will make a great gift. For Christmas maybe I will tie a red velvet ribbon around the frame to hang it from.


I painted some old frames in old white and waxed and distressed them

I added flower pine cones to the frames


I even made some small ones to go with the large one
Frames are always a great gift. This just has that little somethin'

I think it is a great project to do for Christmas but any time will do! A gift for any occasion!


MakingMaking Monday Marvelous Linky PartyBeyond The Picket Fence

Sunday, October 23, 2011

Hershey's Chocolate Cake and other Mishaps

For some reason I can't seem to take pictures and cook! Doing too many tasks in the kitchen for me leads to mistakes.

I don't know if it was concentrating on taking pictures or if it was designing my business cards but as I was making the recipe for this scrumptious cake I realized something went wrong!

So if you come to my blog looking for the perfect everything...you will not find it here!

I do have to say that is still came out awesome! If you would like to try it here is the recipe.


Hershey's Chocolate Cake


1 cup sugar
1 cup flour
16 oz can Hershey Syrup
1 stick of butter
4 eggs

Topping
1 stick butter
1/3 cup evaporated milk
1 cup sugar

Mix all five of the cake ingredients together and pour in a 9x13 baking dish. Bake at 325* for 30 minutes.


On stovetop combine topping mixture and bring to a boil. After it boils turn to low for 2 minutes.


Remove and add 1/2 cup of chocolate chips


When cake is done pour mixture over top of cake.


Should be like a glaze. Cool and enjoy!

This is where the mishap occured. Too much evaporated milk! Yes my cake was floating!!!
After it soaked in some I drained it. I tasted it and YUMMY!!! It was still awesome! The topping should have been more of a glaze and it does sink in to the cake but shouldn't have been so much.

Note to self: Pay attention when cooking!!!

The other mishap.....

The other day I was cleaning and I stripped the dog bed to wash it. Puppy has a memory foam bed! He really loves it. I mean who wouldn't it is so soft and cuddly.

But Puppy being Puppy....he decided to get in on all the decorating around here.


OH DUDLEY!!!!

Thank God for Duct Tape!

On another note, I am happy to say that my Thank You Party was a huge success! Lesley got lots of hits and followers! It is all because of you! Thank you and I cannot wait to feature YOU!

Happy Weekend!

Friday, October 21, 2011

Thank You Party!

Having blogger friends that read and comment on my posts are so important to having a good blog! I try my best to thank everyone that has commented or featured my blog at one time or another. It NEVER seems enough. I don't have a linky party on my site so I decided in order to truly thank them I would have a Thank You Party!


What is a Thank You Party?
It is my way of giving back! I do this by Showcasing YOU! You read and comment the most!
All I ask is that you read this and GO VISIT the person. If you like them please follow them but that is up to you. If you do, you will be glad you did because they are truly sincere in what they write on your posts and who knows, you might want them to follow you too!


You might be next! I like comments so I am going to start doing this hopefully every week!


The first person I would like to showcase is Lesley Litrento from The Homeless Finch!
[JohnsParty+-+Copy.jpg]

When Deneen approached me about guest posting on dreamingincolor, I was dumbfounded.  I mean, what does someone write about in one post aimed to razzle dazzle?  Such pressure!  I've never written a guest blog post, so what's a gal to do? Ya know?!  In the end, I decided just to introduce myself, show a few post projects and yak about what's going on in my studio.  So here goes...
I'm Lesley, a studio artist from sunny South Florida who writes a blog name The Homeless Finch.  If you really want to hear more about me and why I am writing a blog, you can go read my first (and probably my best written) blog post from back in March right here.  If you really don't give a darn who I am and only want to see some of the projects I have completed, then skip that and read on.  (Don't worry, I will never know if you read it or not!)
I am a rescuer. I trash pick, shop yard sales and thrift shops in an effort to find treasures waiting to be discovered and made new again.   I love taking furniture that is tired and giving it new life. My home is in a constant state of renovation and redecoration. I get my hands dirty in my gardens and I like to share the occasional image and idea.  I am also a studio artist. 
So, what makes me different, because that sounds pretty much like all the other bloggers in the home dec world.  I'll tell you what is different. I love color and I use it, even on furniture. I also share life lessons I have learned along way from wise people and the school of hard knocks!
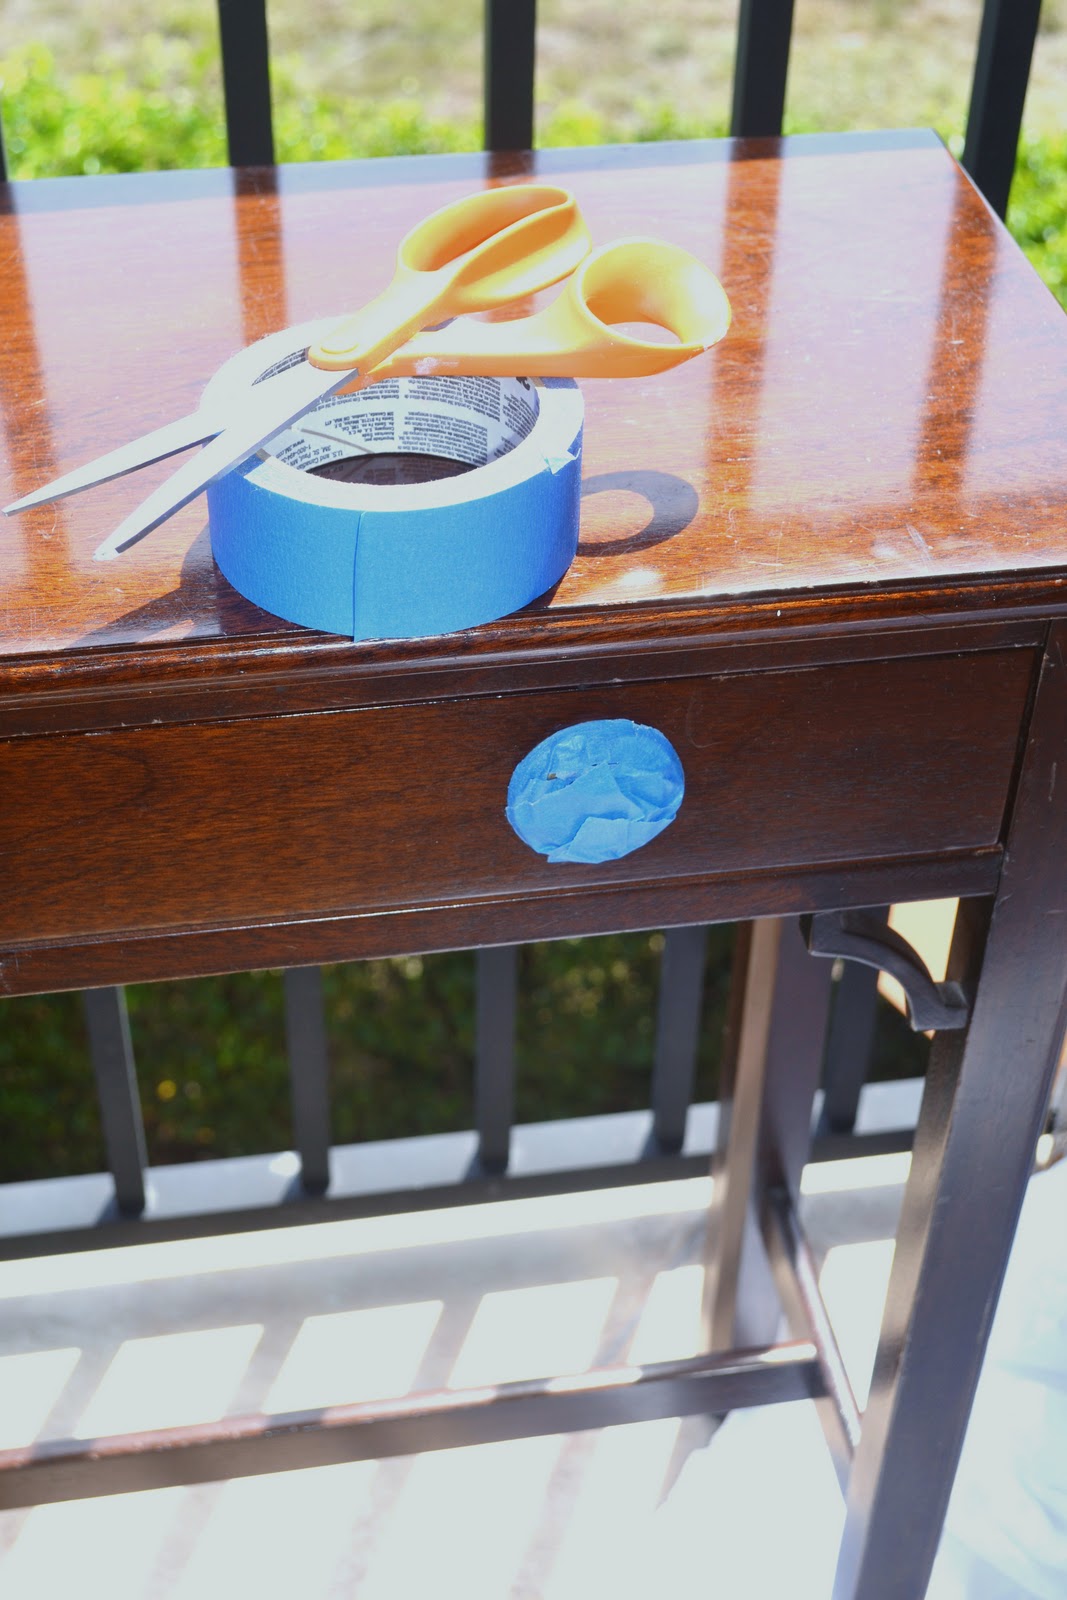
So first we will talk color. Yep, I said it. Color, color, color.  Here are some examples.
Secretary Desk
I went from this...
To this...
and finished and placed here...
If you are interested in seeing a step by step process post of this secretary desk go HERE.
Small Console Table Goes Tropical
It started here...
and went to here...
detail...
I also show the entire process of painting this small console table in my blog post HERE if you are interested in reading more.  I have many more past projects on my blog that are colorful.  I think this is a good taste of what I meant by color.
The other thing about my blog is that I try to keep it real and write from the heart.  I have the tendency to focus heavily on life lessons. I pepper them into my project posts when they relate.  Sometime, I just write about my thoughts at the moment.  I call these posts Ponderings from the Finch.
With many of my projects, there are usually stories behind many of my decisions. A good example is My Mother's Cherish Chest of Drawers.  I not only share the project before, after and all the inbetweens, I share the story behind this piece of furniture and why I made the decisions along the way.  Better put...The Homeless Finch is more than project and furniture reveals and stories of my junking trips, its a diary of my thoughts and I share them with my readers.
Mother's Cherished Chest of Drawers 
Before
After
Detail
I have many other projects and such for you to take a look at for inspiration.  Everything from my
Master Bedroom Reveal

http://thehomelessfinch.blogspot.com/2011/06/master-bedroom-reveal-part-2.html

to a quirky little junk find turned toliet roll holder...
or sad little jewelry box renovation...
or a tutorial on a little 'welcome' pennant banner...
or the multiple times I have updated the seasonal decorations on my chandelier...
or around my home....


I also share and show my artwork...
Hopefully you enjoyed a sneak peek at The Homeless Finch.  I want to most importantly THANK DENEEN for having me over here at dreamingincolor.  The camaraderie that her and I have discovered through blogging is the biggest and most delightful surprise that I have received since starting on this road.  After all, it's the discoveries along the path of life that make traveling it so sweet!  Don't ya think?!!
-The End-

Isn't she awesome? Please go visit The Homeless Finch!

Thursday, October 20, 2011

Ballard Design Knock Off Theatre Sign Tutorial

I love making signs for a living. As I told you before I don't make too many for my blog. I did however make some Ticket Signs that have been very popular! It all started as a gift for my "Theatre Girl"

Then Ballard Designs came out with a "Theatre Sign"! I mean how can I pass up this little piece of inspiration.

Theatre Sign
I started with the same size board that they used. I did not frame it in glass. I felt there was no need to do that. I painted the board beige and made wide stripes to paint red.

I made them equal and each side a partial stripe to look like it was continuing off the board.


I taped the lines to give a sharper edge. This doesn't have to be too perfect because it needs to look distressed. I painted the red starting at the first stripe skipping every other one and ending with another red one.


I pulled off the tape and started to distress it with antiquing glaze. Here is a closer look.


Although this looks screened, I cut white vinyl to go down first to outline the word.


I added the black on top but felt like it was missing something. So I added a border.
It is hard to see the distressing in the picture. It is my first one so I can tweak it from here.

Either way I think my "Theatre Girl" will love it!


Transformation Thursday

Domestically Speaking